Did you receive a Grow Kit?
Check out our Grow Kit Support page with a helpful video.
Did you receive a Home Garden?
Visit the Home Garden resource page.
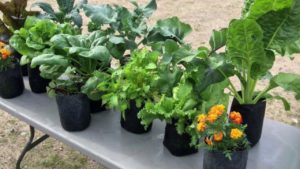
Container
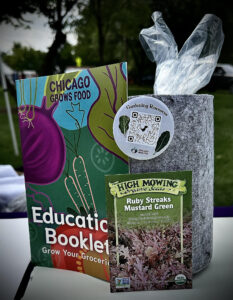
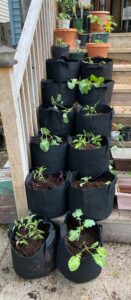
Container gardens, including grow bags like those in your Grow Your Groceries kit, are one way to grow food.
- Just a few bags or containers can yield a nice amount of food
- Containers must be food grade (i.e. restaurant buckets, grow bags) or you could ingest plastic unknowingly
- Can be moved as needed
- If you rotate crops, you can grow a variety of fruit, vegetables, and herbs in just a few containers

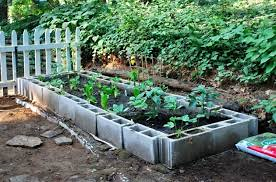
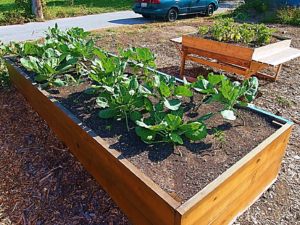
Raised Beds
Raised beds are another way to grow your own food.
- While they might allow you more space to grow, they require more space and cannot easily be moved
- Raised beds are more expensive to set up

In Ground
In ground gardens are one other way to grow your own food
- In ground gardens may allow you more space to grow but cannot be moved
- In Chicago and the surrounding areas, soil is often contaminated so you must get a soil test before your grow in-ground or you could be exposed to toxins
Soil Testing Resources
| Organization | Address | Phone number | Cost for home gardeners |
| Stat Analysis Corporation | 2242 W, Harrison, Suite 200 Chicago IL 60612 | (312) 733-0551 | $60.00 |
| A&L Great Lakes Laboratory | 3505 Conestoga Drive, Fort Wayne, Indiana 46808 | (260) 483-4759 | Depends on type of tests. See costs here. |